Go to www.softwearconnect.com and login with your known credentials.
Click on the Dashboard app.
The Article Status report is located at the menu on the left side.
When you don’t see “Article Status” at the menu, please contact Softwear bij sending an email to help@softwear.nl where you ask us to activate the menu for you.
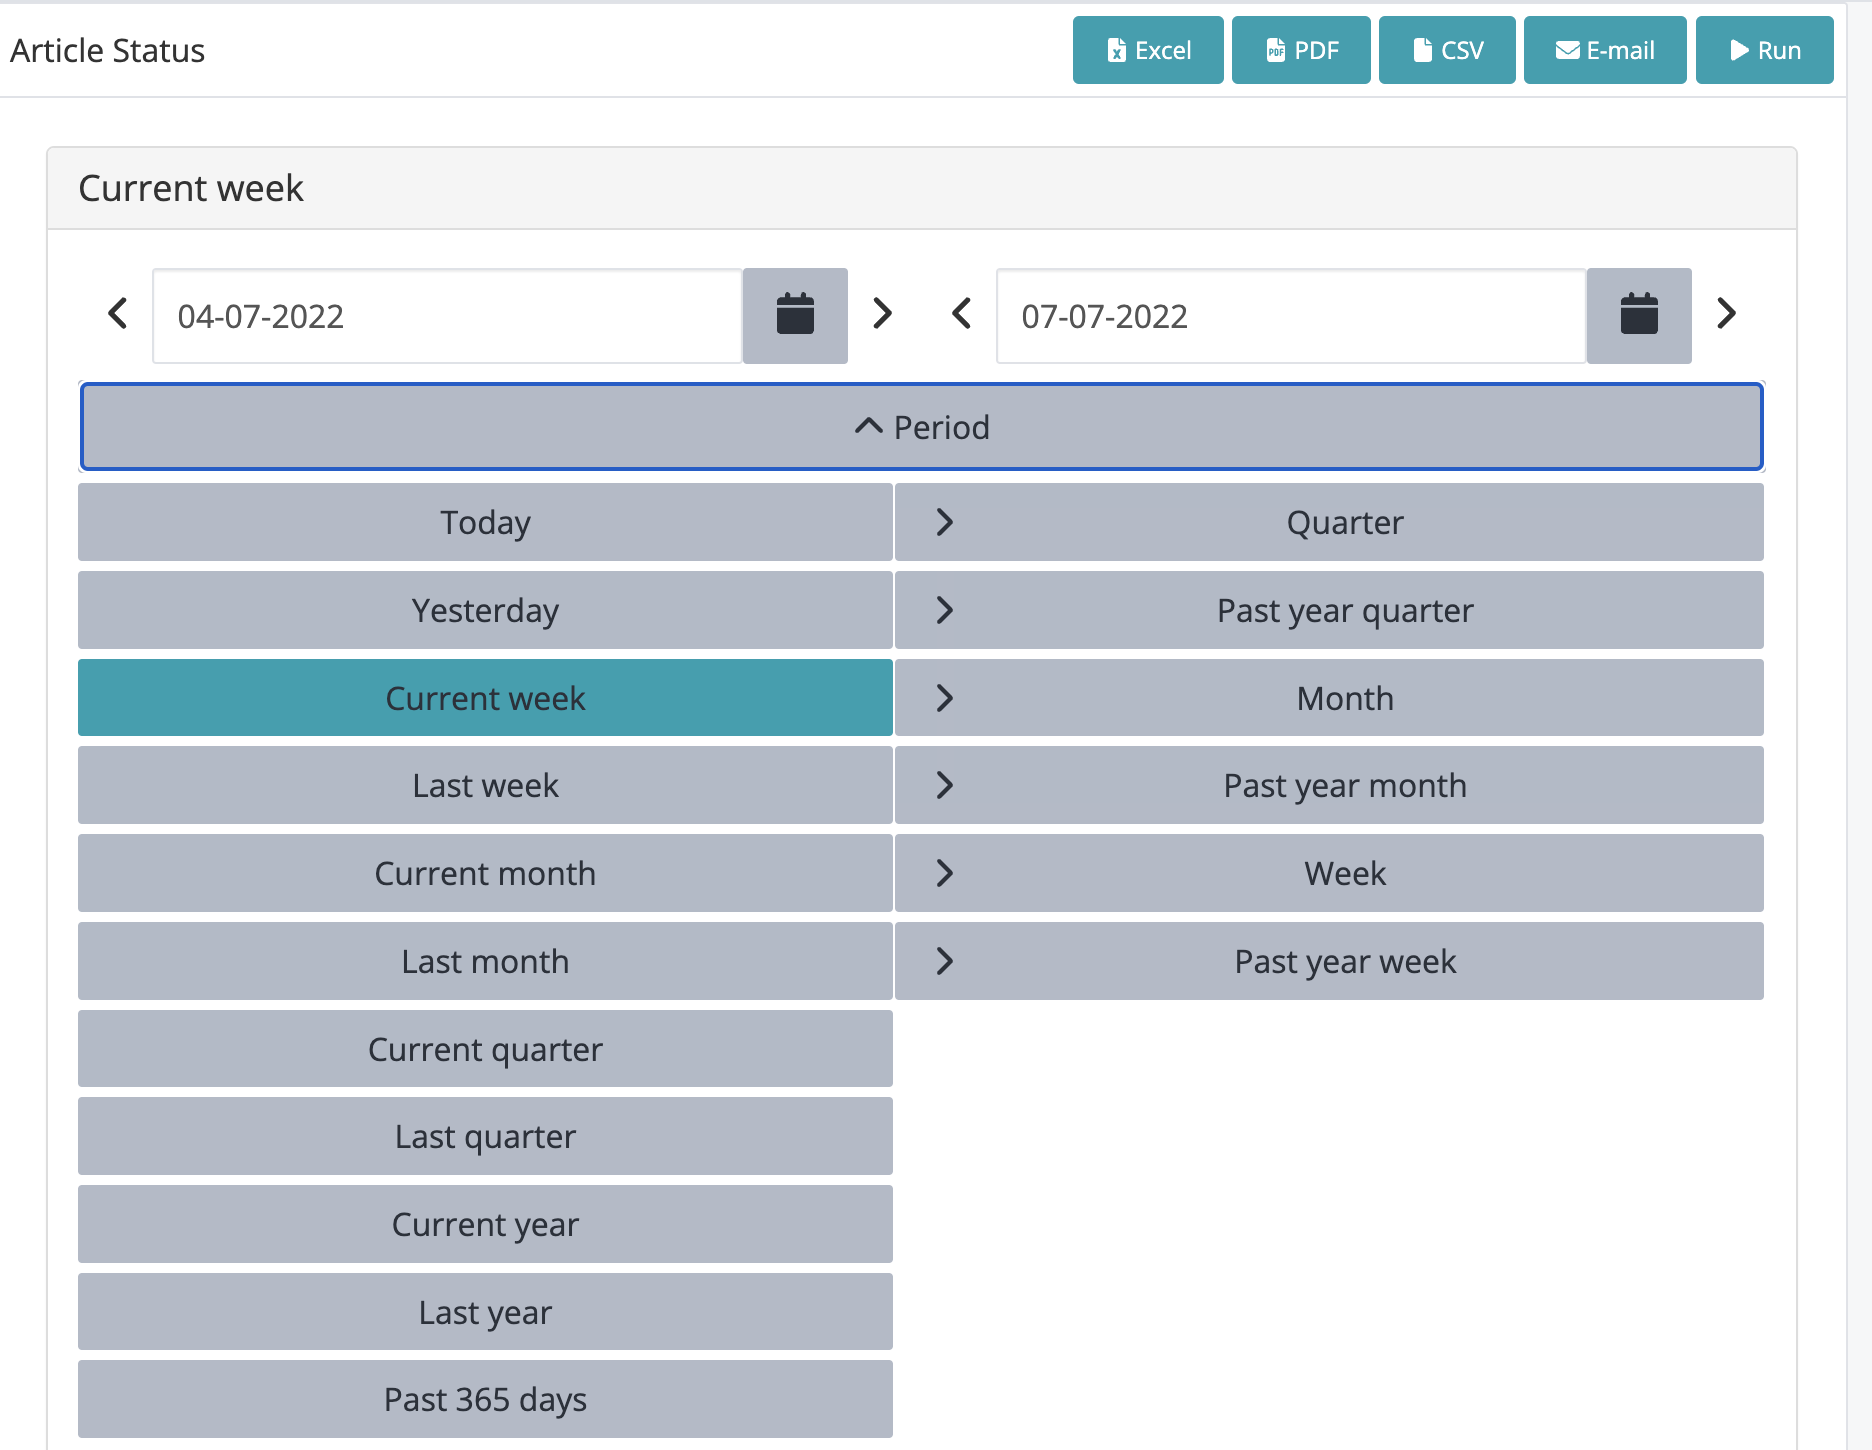
1: Choose your desired date range.
You are able to generate a report for a custom “from“ and “to“ date which can be filled in manually or by using the calendar button. There is also an option to choose from predefined periods like “this week“
Choose your desired custom date or select a predefined one, once selected the menu will close and you can proceed to the next step.
2: Filters
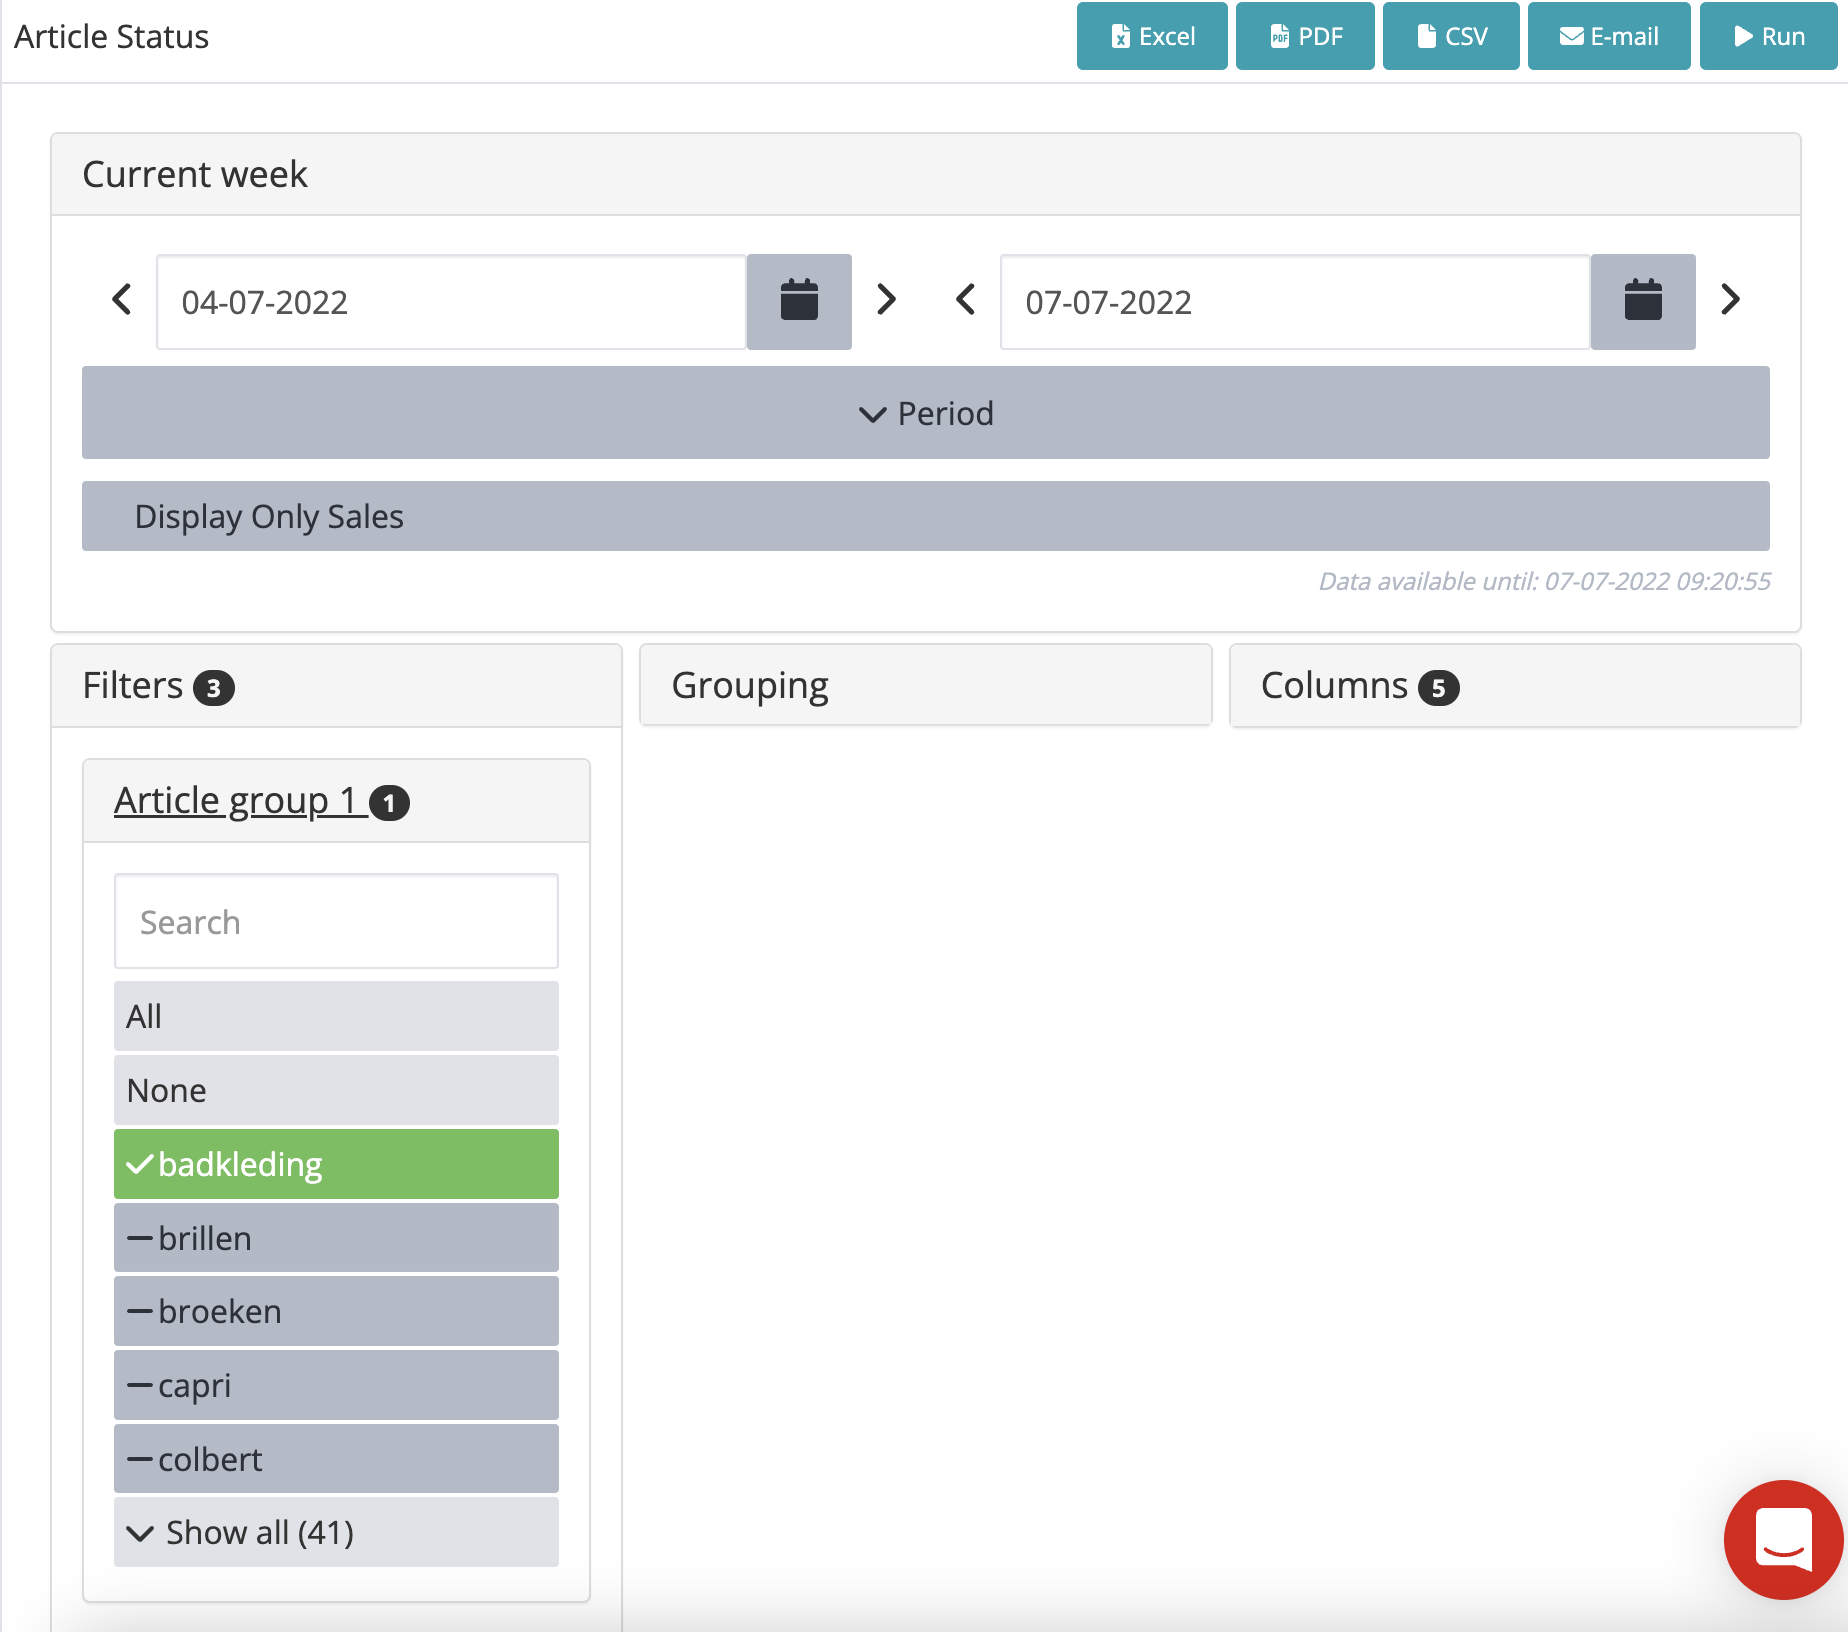
Filters are meant to take out a specific part of your data on which you want to do reporting.
For example you are able to filter on a certain Brand, followed by a Collection, followed by an Article Group.
In the order you apply the filters in that order the report is displayed.
3: Grouping
Grouping is used to determine how the report is displayed. The order you use to turn grouping on, is also the way the report is presented.
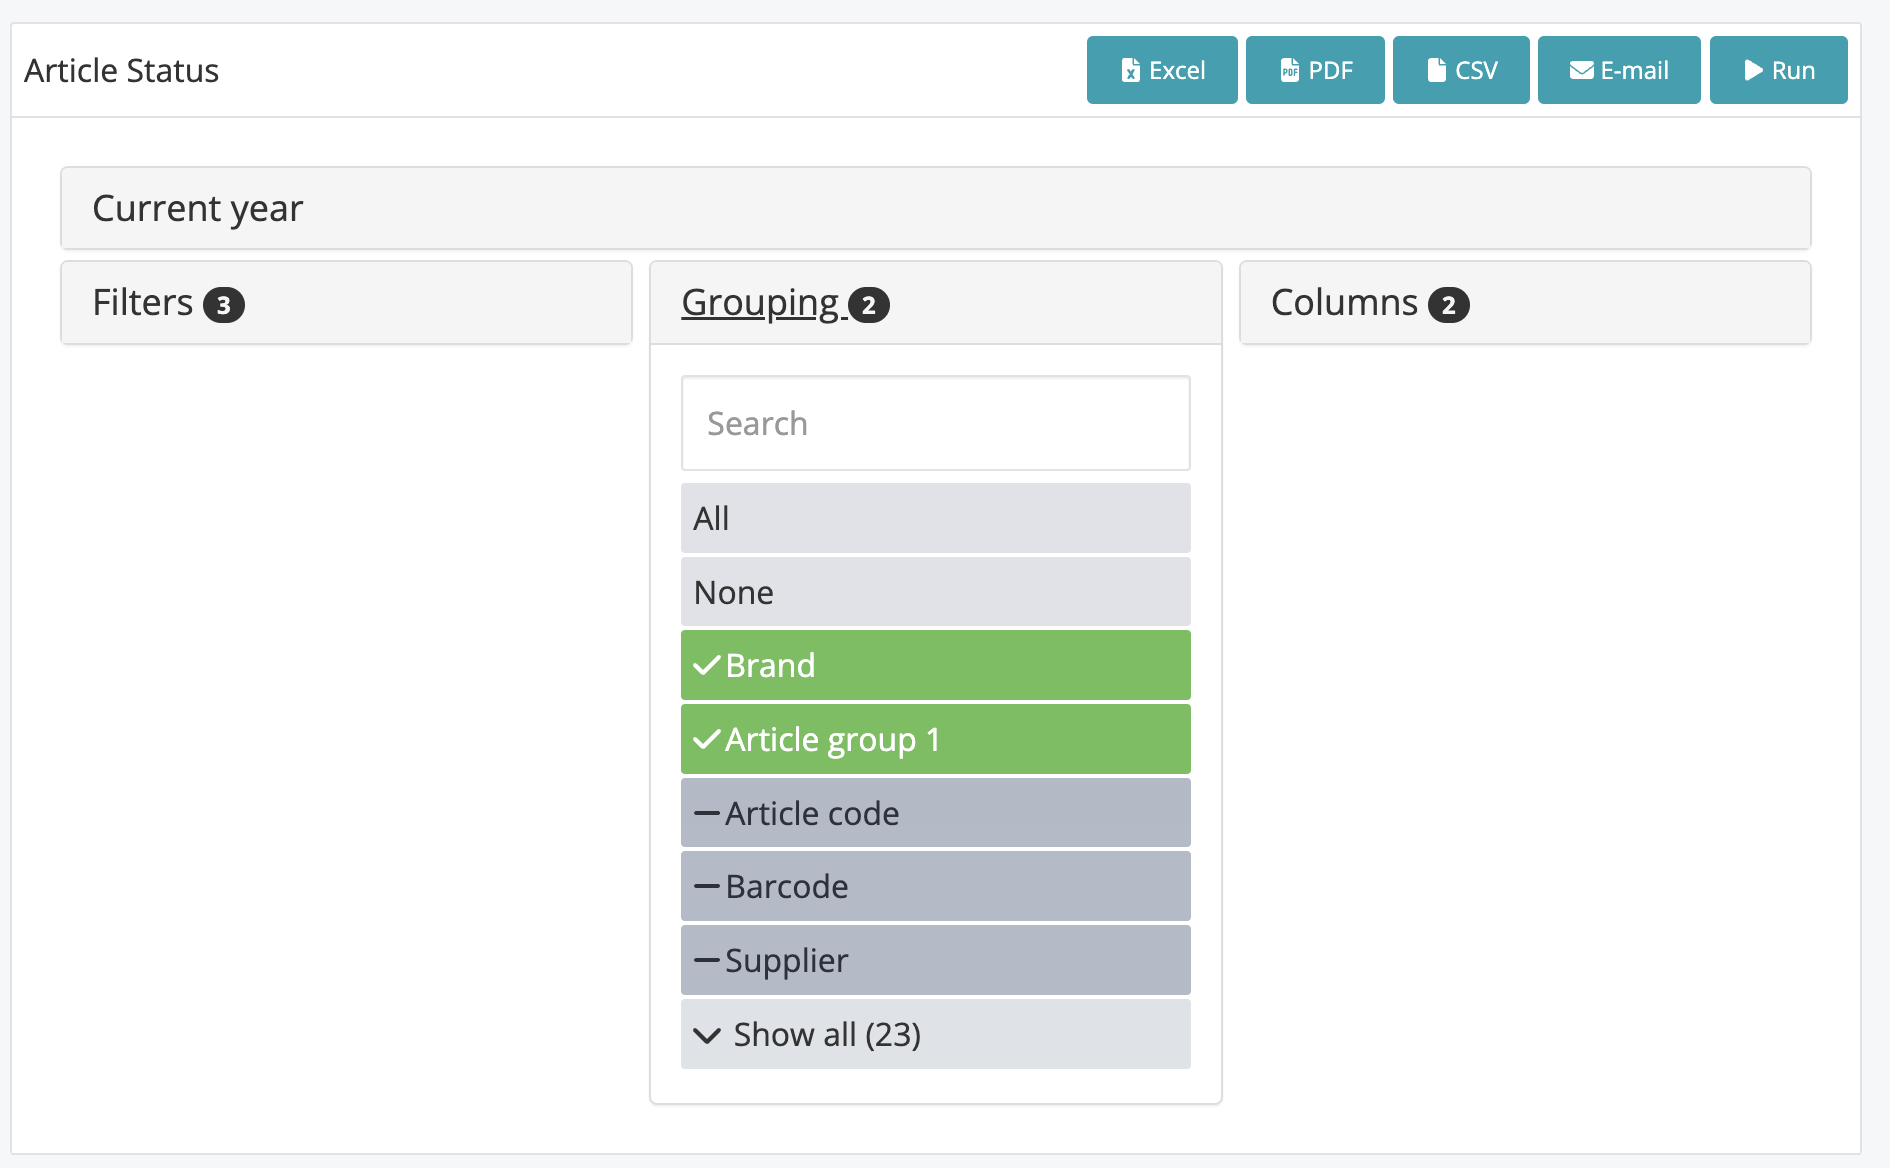
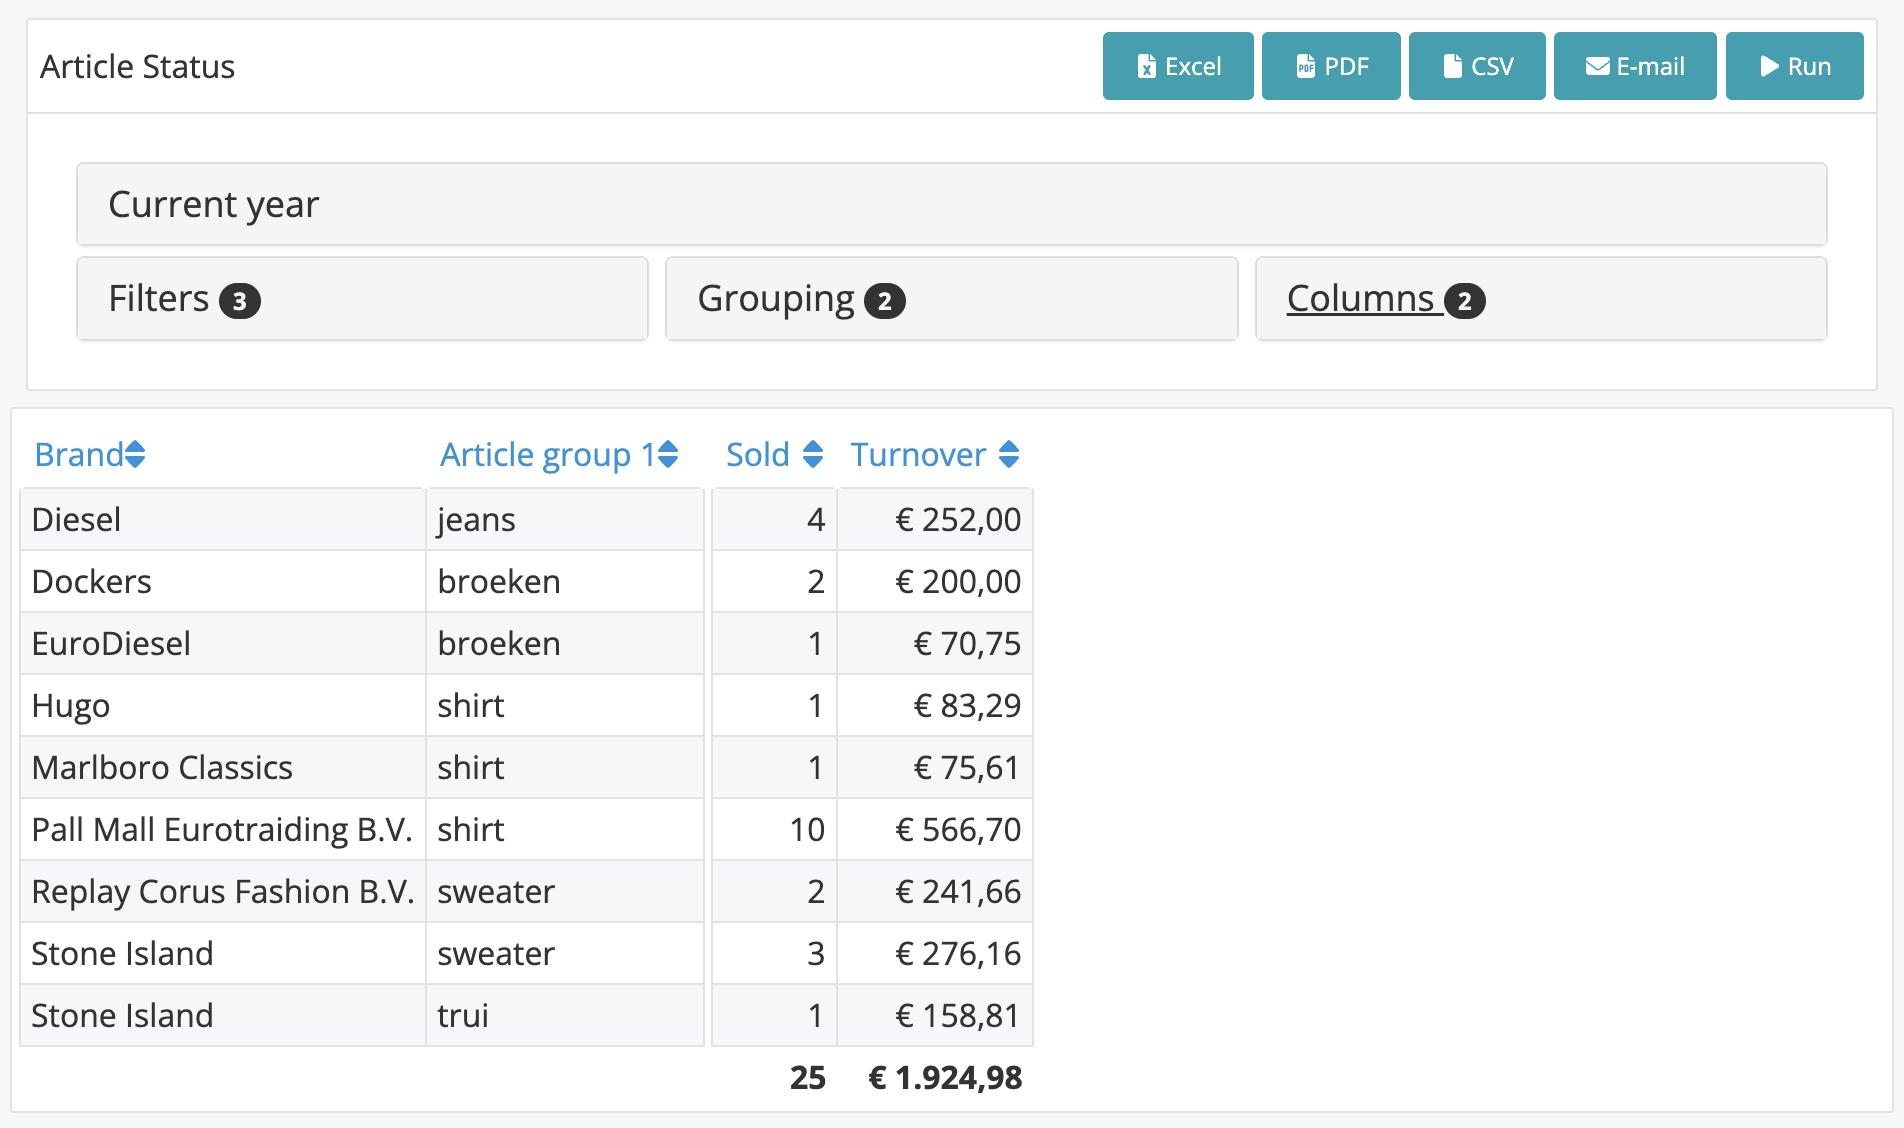
For example: If you first group by Brand, followed by, Article Group. The report will show the brand in the first column and the Article group in the second.
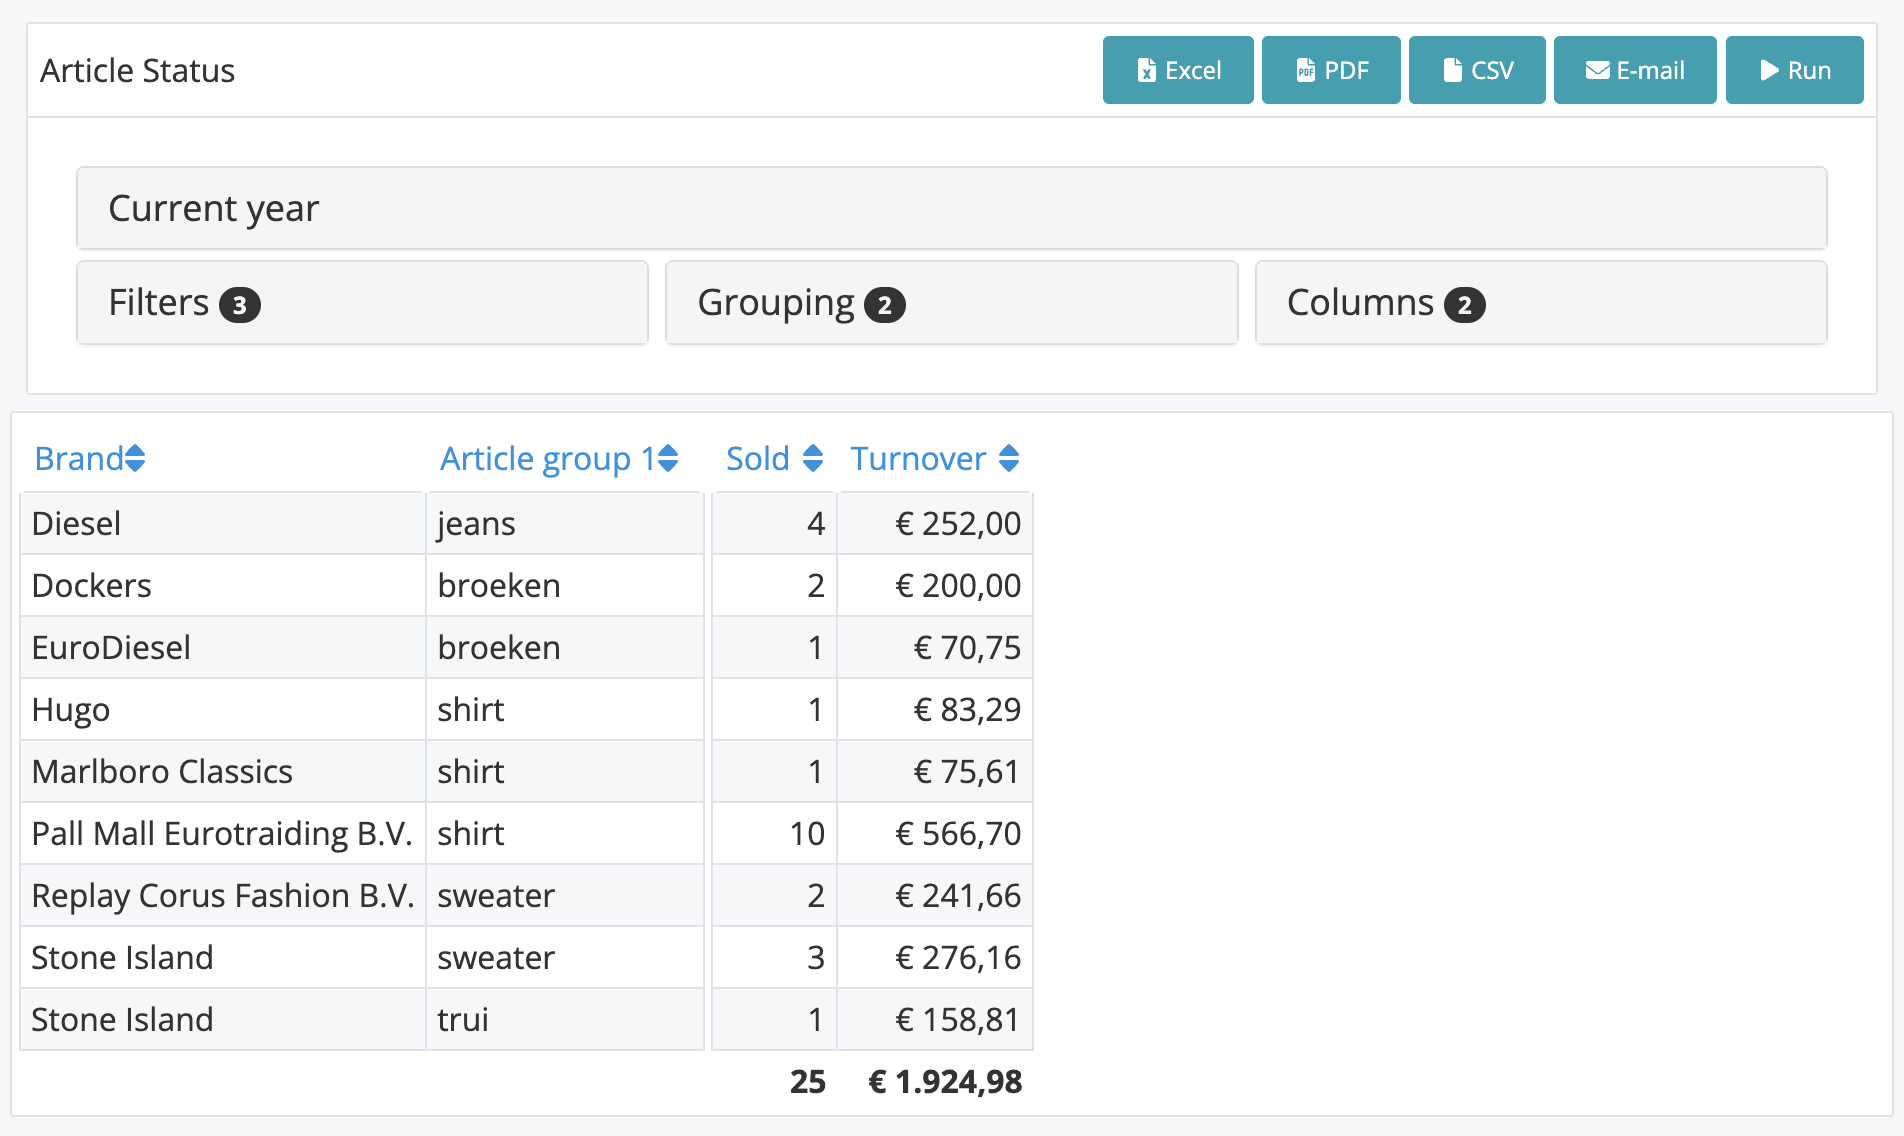
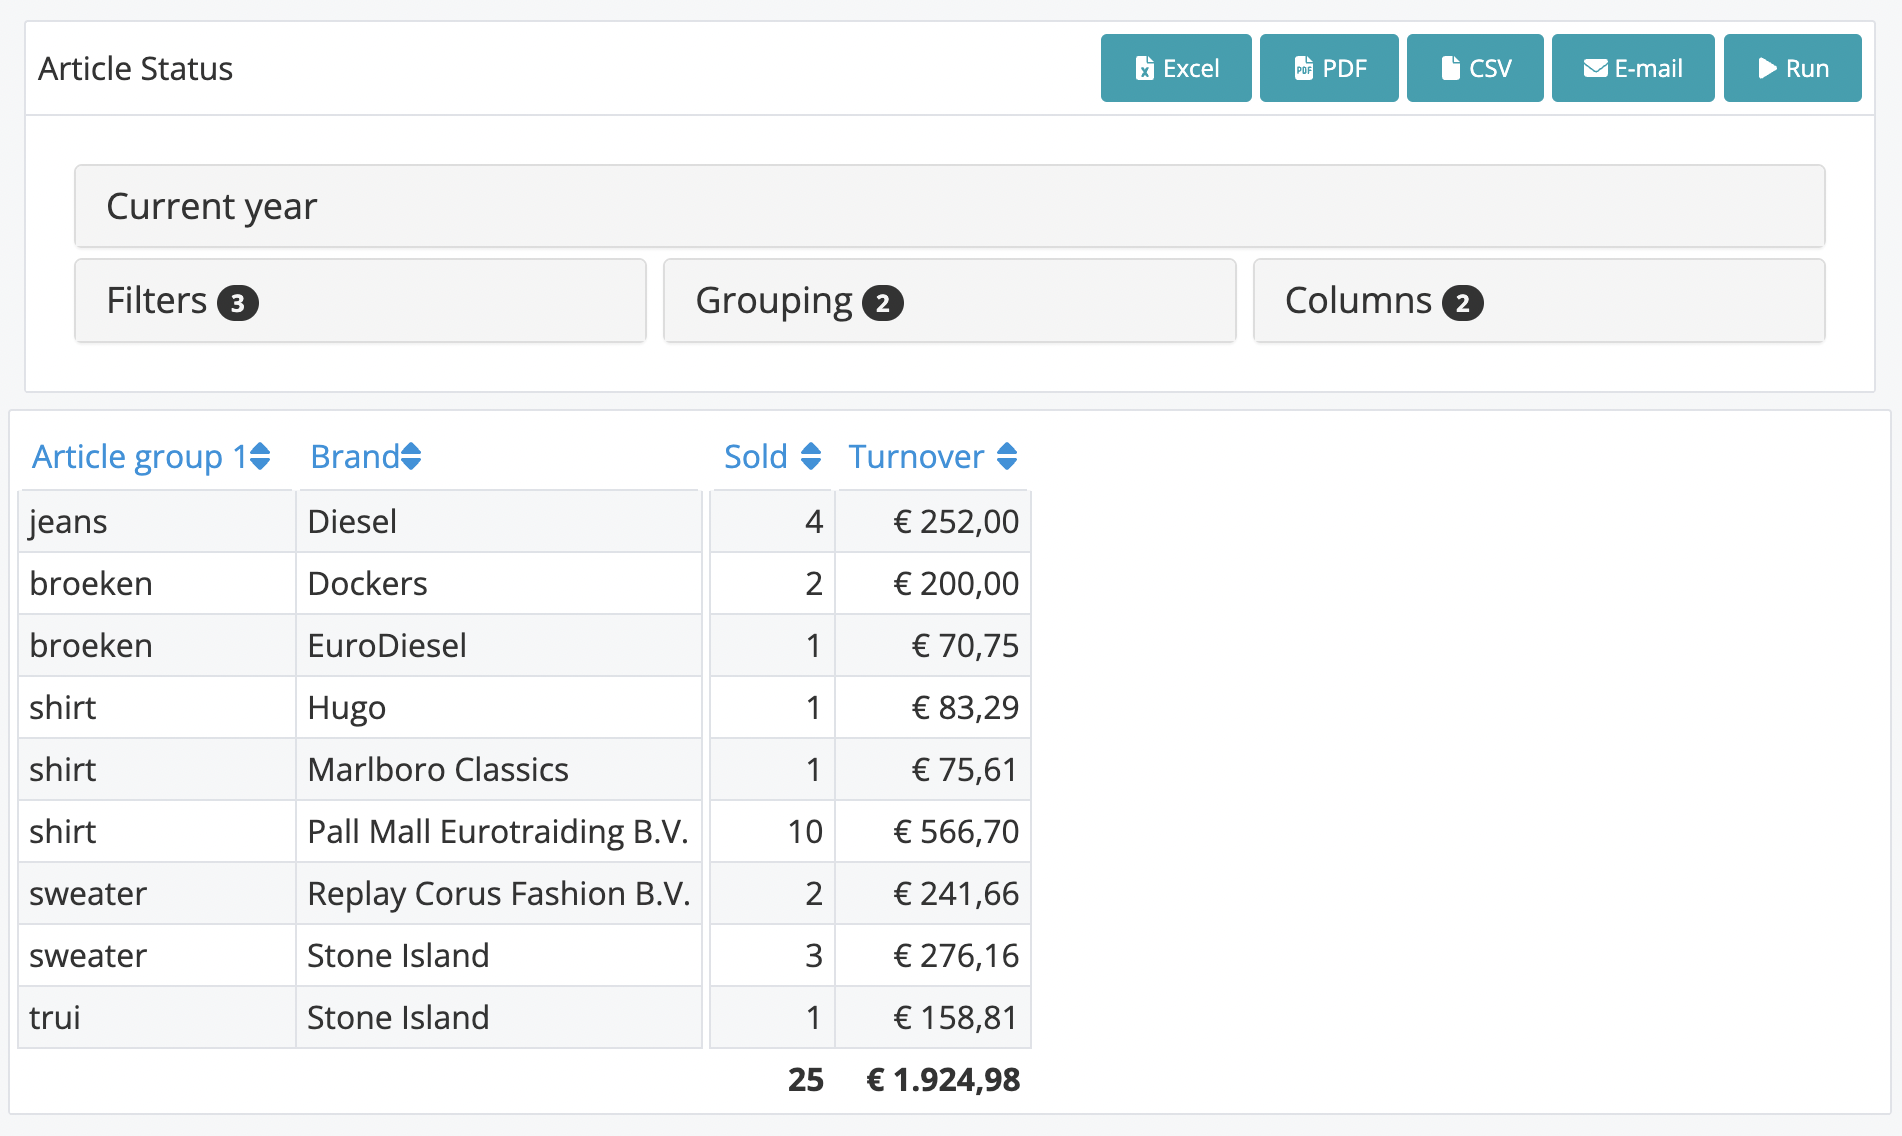
The other way around. First group by Article Group, followed by Brand will display at the first column all Article groups and in the second column you will find the brands.
4: Columns
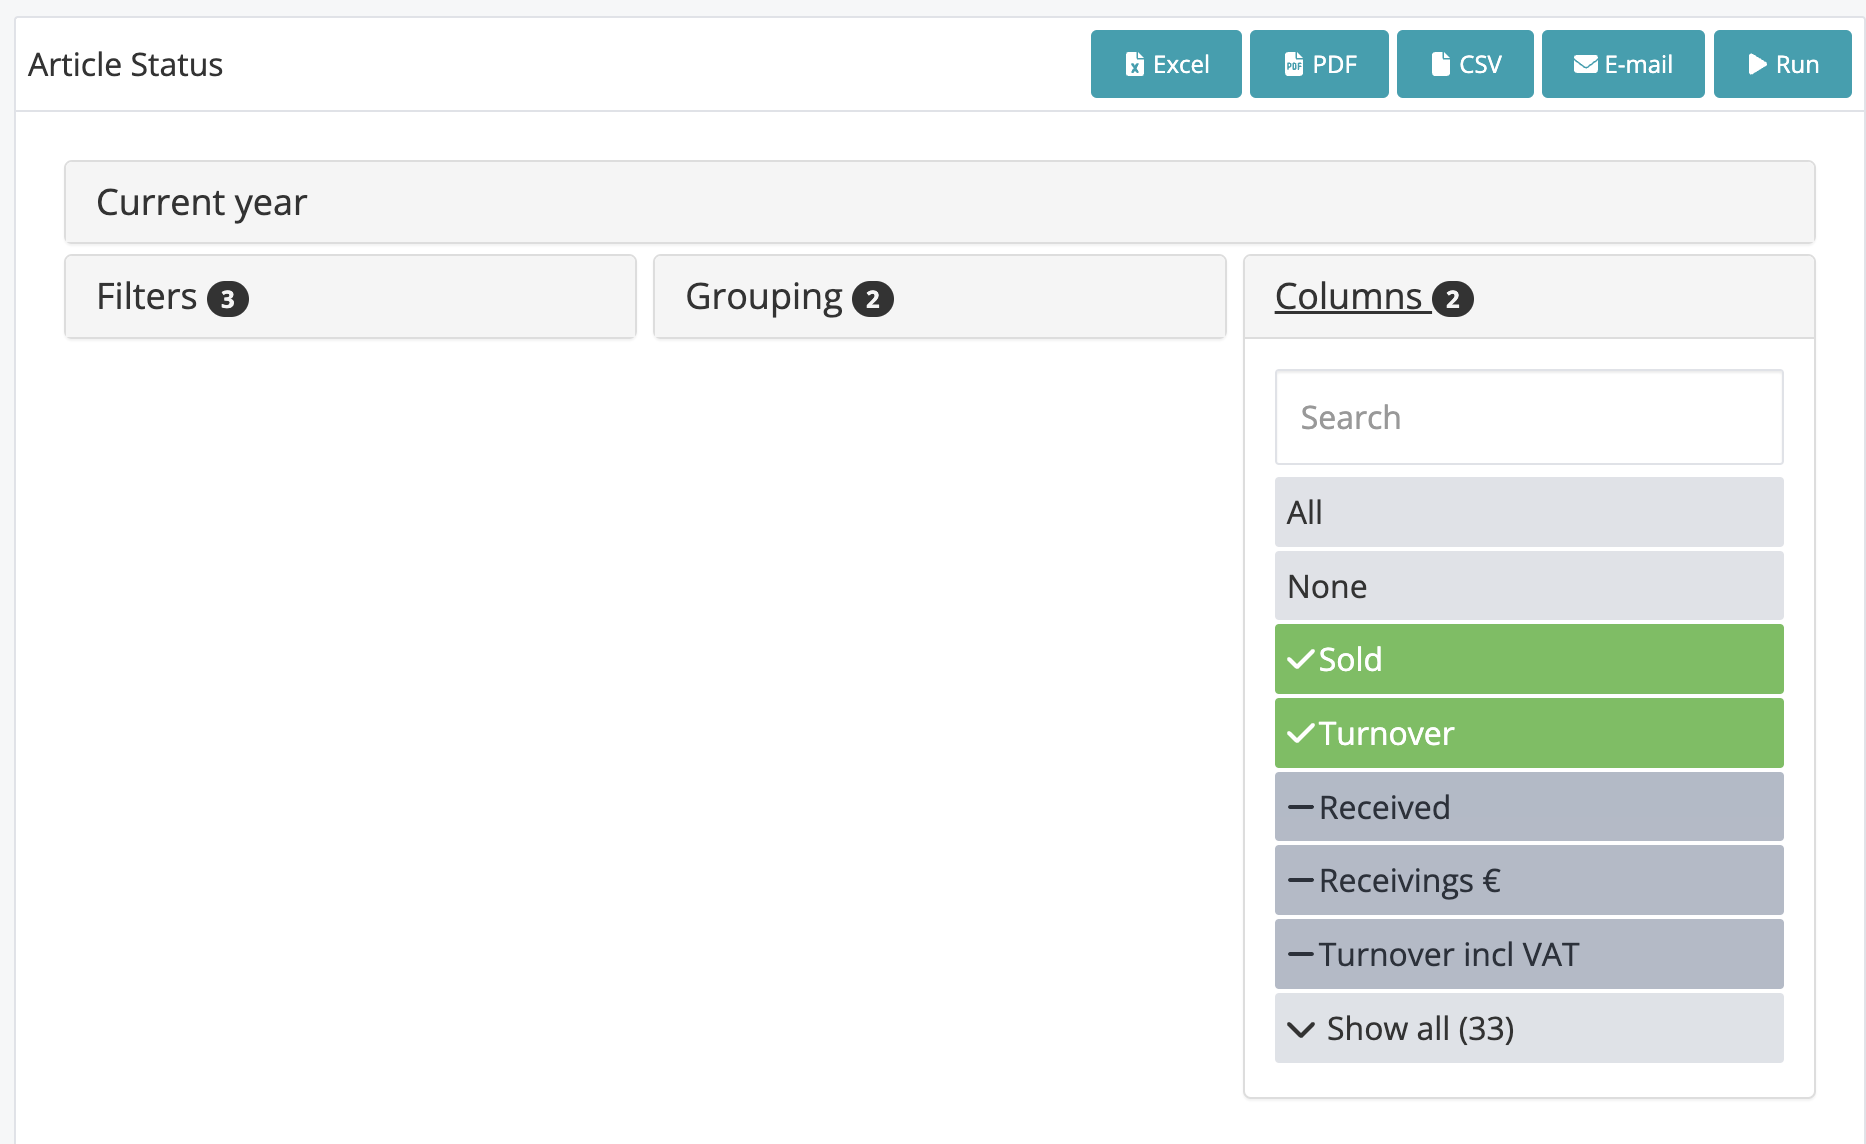
Choose the desired columns you want to see in your report.
The first column you select will be displayed at first, second as second, etc
For example we select Sold and Turnover.
Result:
5: Generate report
When you are done with your selection criteria push the “Run“ button to actually generate the report.
6: Ascend / Descend and Export
You can use the arrow buttons on each column to “ascend / descend“ the data.
The reports can also be exported to: Excel, Csv, PDF and you are able to email the report.
7: Add URL to favoritebar in the Google Chrome browser.
Once you generated a report you can mark the url as “favorite“ in your Google Chrome webbrowser.
The next time you want see a certain report, you can open your favorite url and don’t have configure filters, grouping and columns anymore. You can even store a preset period like “Last week“ in your favorite url. Whenever you open the url, the report will always show “Last week“
Optional you can make use of your Google or Apple account to login to your browser on every device you own, this way your favorite url’s are synchronised across all your devices.
Legenda Columns
Received: Pieces received
Receivings €: Euro received
Sold: Pieces sold
Turnover incl. VAT: Euro turnover including vat
Turnover: Euro turnover excluding vat
Ending stock: Pieces left in stock
Ending stock €: Stock left in Euro
Cost price: Cost price of an article
Mutation: Pieces mutated
Mutation €: Mutations in Euro
Consignement €: Euro outstanding in consignment
Consignment: Pieces outstanding in consignment
Starting stock €: Starting stock in Euro
Starting stock: Starting stock in pieces
Transit €: Transits in Euro
Transit: Transits in pieces
Avg stock €: Average stock in Euro (do not use)
Avg stock: Average stock in pieces (do not use)
Turnover velocity: Turnover velocity in pieces
Turnover velocity €: Turnover velocity in Euro
Sellout: Sellout in %
Margin: Margin (realized margin)
Starting Margin: Starting margin
Profitability: Profitability
Profit: Nett. profit calculated on Turnover - Receivings €
ROI: Return On Investment. Profit - Receivings
Max turnover: Maximum turnover
Leakage: Money not received because discount is given % (example could have a revenue of € 100,- but gave a discount of € 30,-. Leakage is - 30%
Discount: Discount €
Bought: Purchase orders in pieces
Bought €: Purchase orders in Euro
Revalue: Not available yet (do not use)
Last received: Date on which you received the article the last time.
Click here for formules used in Softwearconnect for calculating average stock, Turnover velocity - Turnover velocity € and Profitability.